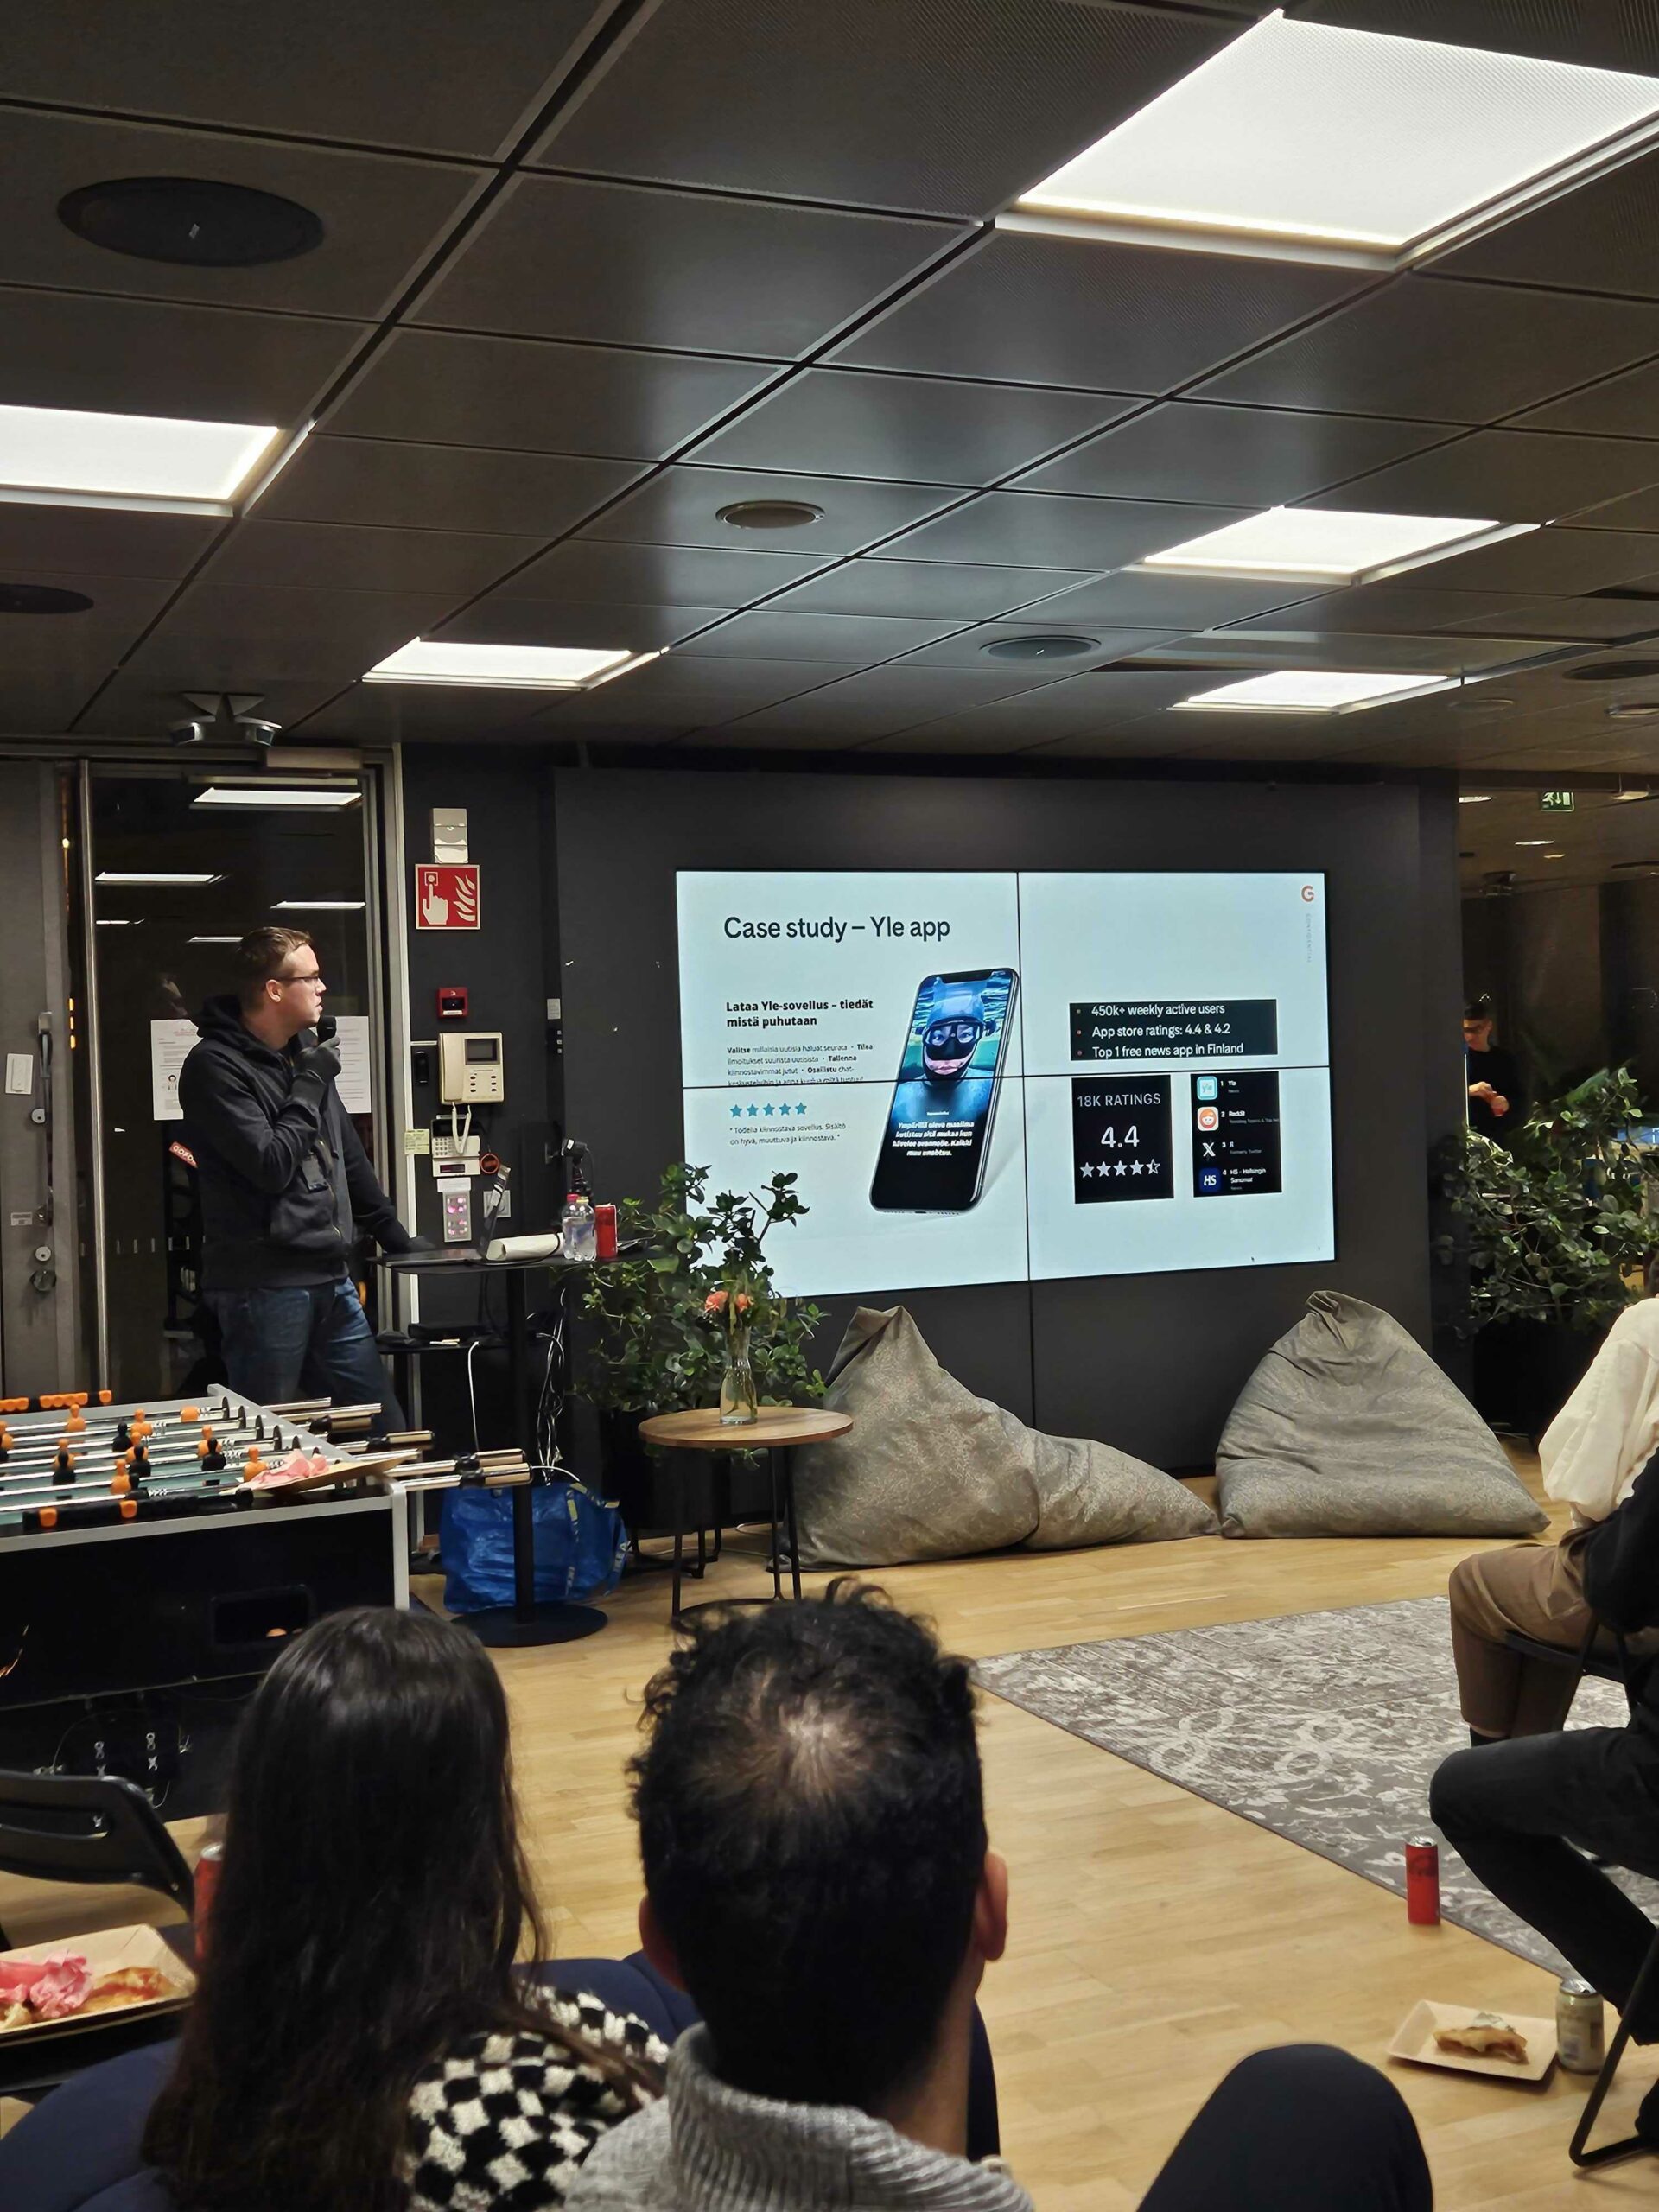
This is part 2 of blog series on Angular 2 change detection, see first blog post for details.
As with other approaches, the change detection in Angular 2 wraps around solving the two main problems: how does the framework notice changes and how are the actual changes identified? This dive into Angular 2 change detection is divided around those two main aspects. First we will see how Angular 2 uses overridable nature of browser APIs to patch them with library called Zone.js to be able to hook into all possible sources of changes. After that, in the second part, what happens when possible change is detected will be gone through. This contains the actual identification of possible changes and process of updating the changes to the DOM based on the bindings on template defined by developer.
Who Notifies Angular 2 of Changes?
So the first problem that needs to be solved is who notifies the Angular 2 from changes that may have happened? To answer this problem we must first explore the asynchronous nature of JavaScript and see what actually can cause change in JavaScript after initial state is set. Let’s start by taking a look at how JavaScript actually works.
Asynchronous Nature of JavaScript
JavaScript is said to be asynchronous, yet single-threaded language. These are of course just fancy technical terms, but understanding them forms the foundation to see how change can happen. Let’s start with the basic, synchronous flow that many programmers coming from other languages are familiar. This flow is called imperative programming. In imperative programming each command is executed one after another in an order. Each of these commands is executed completely before proceeding to the next one. Let’s take an example program in JavaScript:
const myNumber = 100;
doSomething(myNumber);
doSomethingElse();
This is just a non-sense program that demonstrates the fact that each command is executed synchronously one by one. First we assign variable, then call some function and after that function returns, call the last one. This is the basic way many programming languages work. This is also true for JavaScript. But there is one major thing to notice about JavaScript. JavaScript is also called reactive. What this means is that things can happen asynchronously. That means there can be different kinds of events. We can subscribe for each of these events and execute some code when they occur.
Let’s take the most basic example of asynchronous nature in JavaScript: setTimeout browser API. What does setTimeout do then? As seen from the signature – setTimeout(callback, timeout) – the function takes two parameters. First one is so called callback function that is executed once certain amount of time has elapsed. The second parameter is the timeout in milliseconds. Let’s take an example of how the setTimeout can be used:
setTimeout(function () {
  doSomething();
}, 1000);
So what we have here is a basic imperative, synchronous call to function called setTimeout. This function call is executed when this piece of code is executed (browser has loaded the script file and executes it, for example). What it does is it schedules the callback function passed to it to be called at later time. This scheduling to be executed later is what we mean by asynchronous execution. The function containing call to doSomething function is executed when one second (1000 milliseconds) has elapsed and the call stack is empty. Why the bolded part is important? Let’s take a look at it in more detail.
Call stack is the same call stack we have in other languages, such as Java. Its purpose is to keep track of the nested function calls that occur during execution of the program given. As many other languages, JavaScript is also single-threaded, meaning that only one piece of code can be executed simultaneously. The main difference here is, that unlike in many other languages, in JavaScript things can get to be executed also after the execution of actual synchronous code is already done. In Java the we would just enter the main method when the program starts, execute code within it, and when there is no more code to be executed, we are done and the program exits. This isn’t the case for JavaScript where we can schedule code to be executed later with the browser APIs. setTimeout is one of these APIs but there are many more. We can for example add event listeners with addEventListener. There are multiple types of events we can subscribe for. The most common events relate to user interaction such as mouse clicks and keyboard input. As an example click events can be subscribed for with the following code:
addEventListener('click', function () {
  doSomething();
});
To summarize what kind of sources for asynchronous execution there can be in JavaScript, we can divide the APIs in three categories:
- Time-related APIs like setTimeout and setInterval
- HTTP responses (XmlHttpRequest)
- Event handlers registered with addEventListener
These are the sources of asynchronous execution of code, and here’s the main thing to realize: these are the only potential sources for changes. So what if we could patch these browser APIs and track calls to them? As it turns out we can and that is exactly what we will do. This brings us to the next subject: Zones.
Zone.js
Zone.js is Angular’s implementation of concept of zones for JavaScript. Zones are originally a concept of Dart programming language.
So how are these so called zones then used? Let’s look at an example code that simply runs code inside a zone
zone.run(() => {
  console.log('Hello world from zone!');
});
What we have here is just a simple function passed to zone.run method. This function will be executed inside the current zone. So what is the point of running the code inside a zone?
The magic comes from the possibility to hook into asynchronous events. Before we run any code inside our zone, we can add some callbacks to be called once something interesting happens. One important example of these hooks is afterTask. TheafterTask hook is executed whenever an asynchronous task has been executed. The asynchronous task simply means the callbacks registered for any of those browser APIs mentioned earlier, such as setTimeout. Let’s have an example of how this works:
zone.fork({
  afterTask: () => console.log('Asynchronous task executed!')
}).run(() => {
  setTimeout(() => console.log('Hello world from zone!'), 1000);
});
// Console log:
// Hello world from zone!
// Asynchronous task executed!
There are actually quite a few of these hooks available, to show some there are enqueueTask, dequeueTask, beforeTask andonError. There is, though, a reason that we looked into afterTask especially. afterTask is key piece we need to trigger change detection in Angular 2. There is still a single twist in the story, and that is the NgZone which we’ll have a look at next.
NgZone
As covered previously, we can use zone.js to execute some code when an asynchronous tasks callback is executed. We could now trigger change detection each time any asynchronous callback code has executed. There is still a simple optimization possible and that is handled by NgZone. NgZone is a class found on Angular 2 core module that extends the concept of zones a little further by keeping track of items in the asynchronous callback queue. It also defines new hook calledonMicrotaskEmpty which does the following (from the documentation):
Notifies when there is no more microtasks enqueue in the current VM Turn. This is a hint for Angular to do change detection, which may enqueue more microtasks. For this reason this event can fire multiple times per VM Turn.
So it basically allows us to only execute change detection once there is no more asynchronous callbacks to be executed instead of running the change detection after each single task. Nice!
NgZone also has some other interesting functionalities that we aren’t going to go through here. It for example allows you to run asynchronous code outside of Angular’s default zone for it not to trigger the change detection. This is especially useful when you have multiple asynchronous calls to be made sequentially and don’t want to unnecessarily trigger change detection after each of them. This this can be achieved with a method called runOutsideAngular which takes a function to be executed as parameter.
Zones & Angular 2
Now that we know what is the concept of zones and how they can be used to track asynchronous execution, we can take a look at how Angular 2 actually triggers the change detection. Let’s have a look at an example pseudo-code by Pascal Precht from his excellent article on this very same topic called Angular 2 Change Detection Explained:
this.zone.onMicrotaskEmpty
  .subscribe(() => {
    this.zone.run(() => this.tick() })
  })
tick() {
  this.changeDetectorsRefs
    .forEach((ref) => ref.detectChanges())
}
As we see here, the API for NgZone is a little different than the one we showed for zone.js hooks since it uses concept of observables instead of registering plain callbacks, as is usual in Angular 2. Nevertheless the concept is still the same that each time the microtask queue (the queue of those asynchronous callbacks to be executed) is empty, we call method called tick. And what the tick does is it iterates through all the change detectors in our application. Simple, yet effective. Next, let’s take a look at what these change detectors are and how they are used to detect the changes made.
Change Happened, Now What?
Great! Now we know how the Angular 2 knows about possibility of changes that may have occurred. What we need to do next is to identify what are these actual changes and after that render the changed parts to the user interface (DOM). To detect changes we first need to think a little about the structure of Angular 2 applications.
Angular 2 Application Structure
As you surely know at this point (at least implicitly), every Angular 2 application is a tree of components. The tree starts from the root component that is passed to the bootstrap method as a first parameter and is usually called AppComponent. This component then has child components through either direct references in the template or via router instantiating them within the <router-outlet></router-outlet> selector. Be that as it may, we can visualize the application as a tree structure:
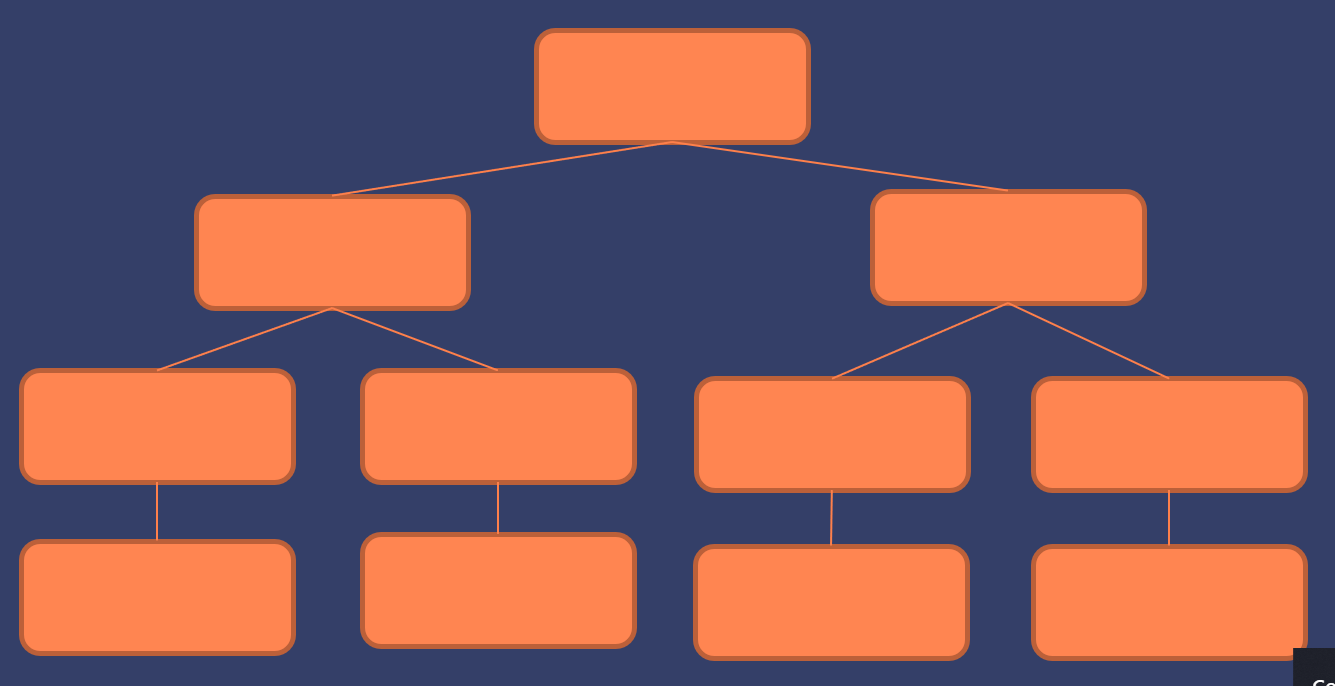
We can now see that there’s the root node (AppComponent) and some subtrees beneath it symbolizing the component hierarchy of the application.
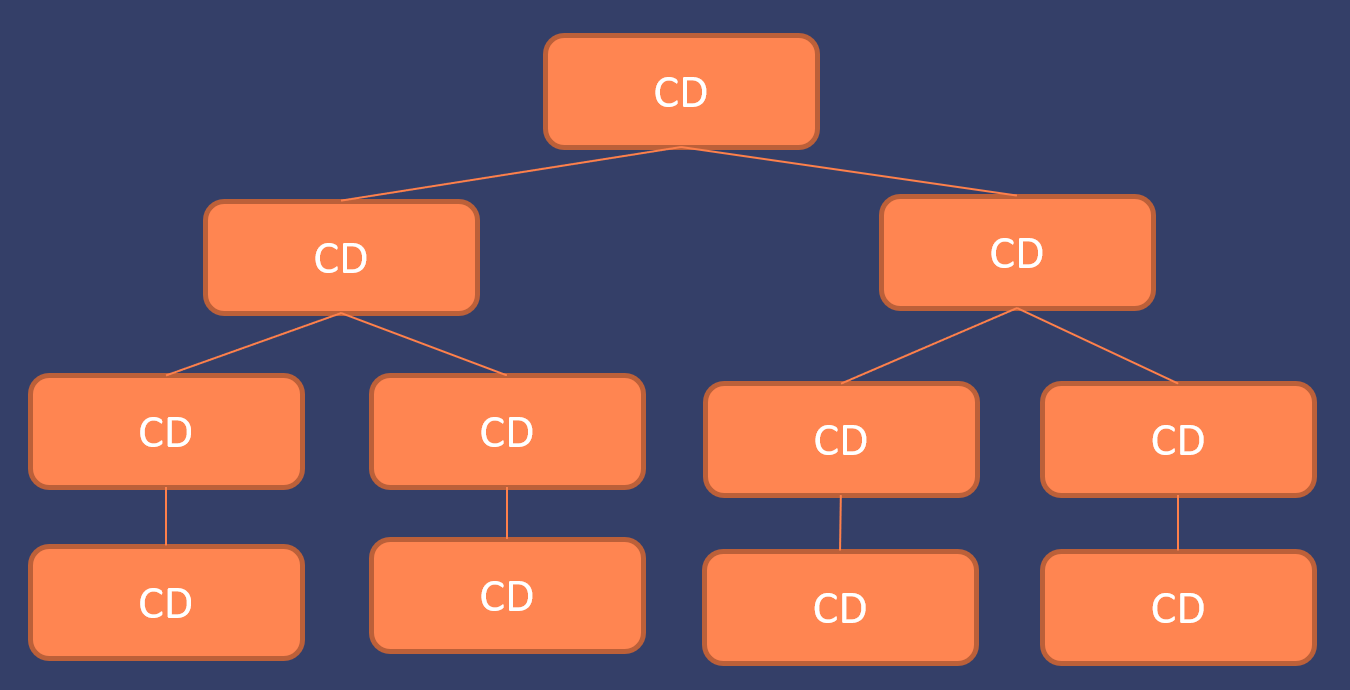
Unique Change Detector for Each Component
Important aspect of Angular 2 change detection is the fact that each component has its own change detector. These change detectors are customized for data structures of each component to be highly efficient. As seen in the image below, we can see that each component in our component tree has its own change detector.
So what makes these change detectors to unique then? We won’t be going into details on this post, but each of the change detectors is created especially for that component. This makes them extremely performant as they can be built to be something called monomorphic. This is a JavaScript virtual machine optimization that you can read more from Vyacheslav Egorov’s in-depth article What’s up with monomorphism?. This optimization lets Angular 2 change detectors run “Hundreds of thousands simple checks in a few milliseconds” according to Angular core team member Victor Savkin.
One important aspect remains to be discovered: by who and when are the change detectors then created? There are two possible ways. First and the default choice is that they are instantiated automatically by Angular 2 on application initialization. This adds some work to be done while bootstrapping the application. The second option is to use something called offline compiler, which is still work-in-progress, by Angular 2 core team to generate the change detectors through command-line interface already before shipping the application. The latter can obviously boost the booting of application even further. To find out more on the topic of offile compiler, you should see the angular2-template-generator npm package.
Change Detection Tree
Okay, now we know that each component has unique change detector responsible for detecting the changes happened since the previous rendering. How is the whole process of change detection orchestrated? By default, Angular 2 needs to be conservative about the possible changes that might have happened and to check the whole tree through each time. Possibilities to optimize this are shown later on this blog series.
The approach of Angular 2 change detection is to always perform change detection from top-to-bottom. So we start by triggering change detector on our applications root component. After this has been done, we iterate the whole tree through starting from the second level. This is also illustrated in the image below.
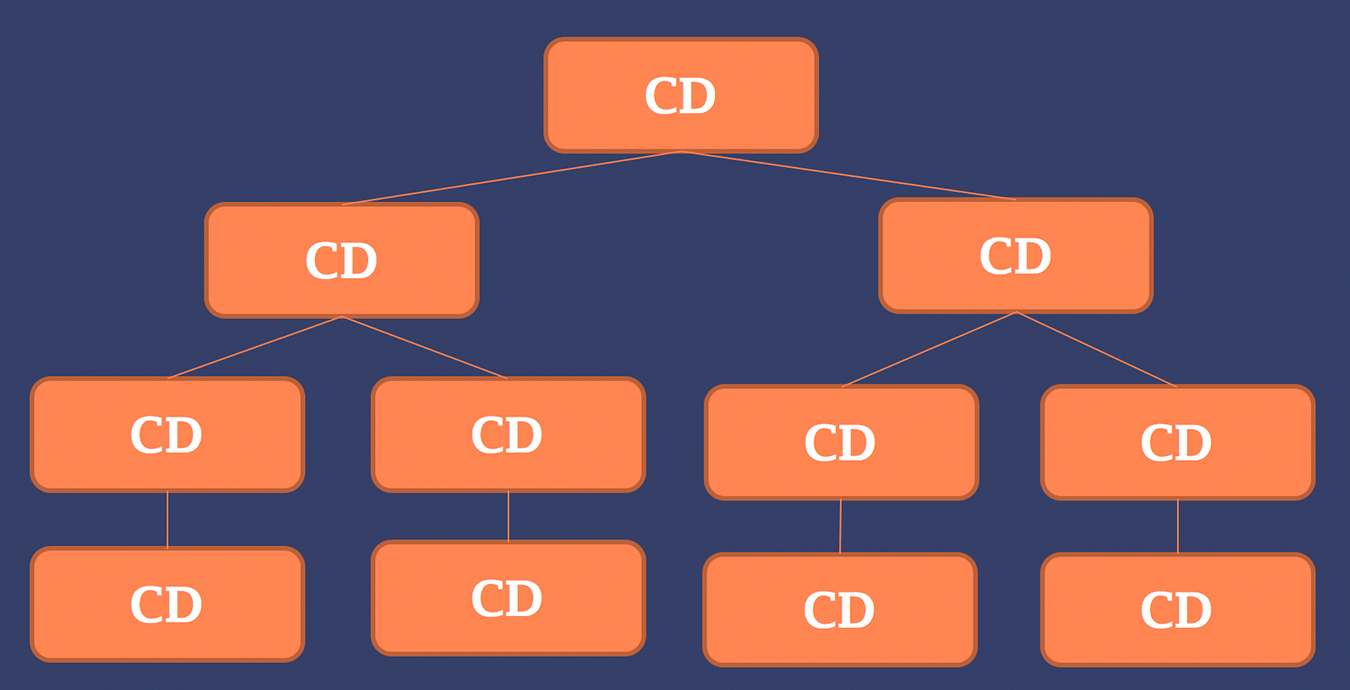
Doing change detection this way is predictable, performant, easy to debug and controllable. Let’s explore each of these terms a little further.
Angular 2 change detection is said to be predictable because there is no possibility for need to run change detection through multiple times for one set of changes. This is major difference compared to the Angular.js where there was no guarantee about whether change detection would be single- or multi-pass. How does Angular 2 then prevent need for multi-pass change detection? The key thing to realize is that the data only flows from the top to bottom. There can’t be any cycles in the component tree as all the data coming to component can only be from its parent through the input mechanism (@Inputannotation). This is what is meant when we say that structure of Angular 2 application is always unidirectional tree.
Only needing a single-pass combined with extremely fast change detectors (the VM-friendliness thing) for components is extremely fast. Angular core team manager Brad Green stated on his talk in ng-conf 2016 that compared to Angular.js, Angular 2 is always five times faster on rendering. This is already way more than fast enough for most of the applications. Though, if there are some corner cases performance-wise, we can still apply optimizations techniques shown later in this series to even further increase the performance of change detection. These techniques include usage of immutables and observables, or even totally manual control on when change detection is ran.
If you have done Angular.js development the odds are that you have met some really obscure error messages stating something like “10 $digest() iterations reached. Aborting!“. These problems are often really hard to reason about and thus debug. With Angular 2 change detection system they can’t really happen as running change detection itself is guaranteed not to trigger new passes.
Angular 2 change detection is also extremely controllable. We have multiple change detection strategies (gone through later in this series) to choose from for each component separately. We can also detach and re-attach the change detection manually to enable even further control.
Conclusions
In this blog post we saw how the JavaScript internal event loop works, and how it can be used with concept of zones to trigger change detection automatically on possible changes. We also looked into how Angular 2 manages to run change detection as single-pass, unidirectional tree.