Information is a great tool in software development and it’s useful to have easy access to it. The more obvious you make your problems, the harder you make them to ignore. The more attention they get, the quicker they get solved. One thing developers like to monitor in software development is the continuous integration status and metrics from running services. And what better way to achieve visibility and visualize those metrics than building an information radiator.
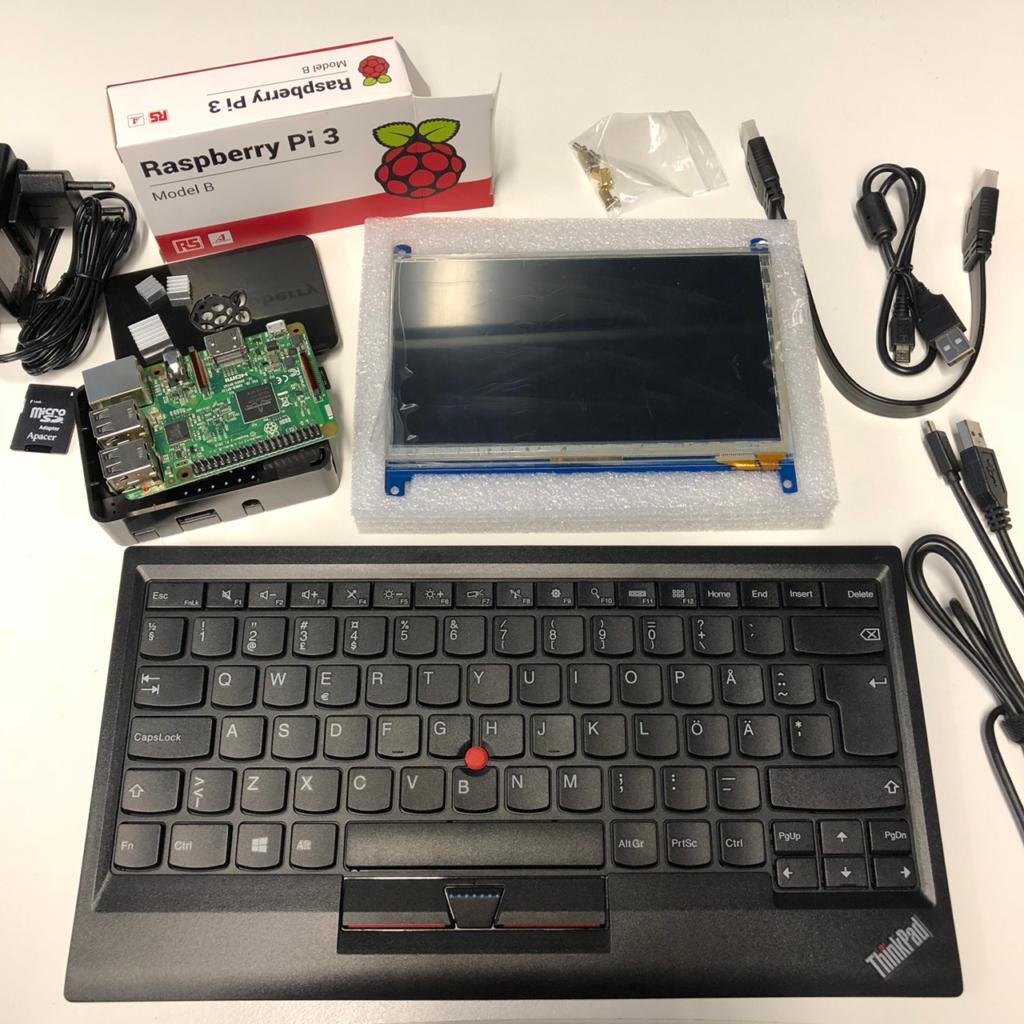
I didn’t want to reinvent the wheel so I got a Raspberry Pi 3 Model B with accessories and a 7″ touchscreen to base my project. Using a Raspberry Pi as an information radiator isn’t a new idea and the Internet is full of examples of different adaptations with screens, lights, bells and whistles. For the start, we just visualized our Jenkins builds and Grafana dashboard but later on we will probably do a custom dashboard.
Setting up the base
The information radiator is easy to get running as you only need a computer which preferably runs Linux. You can use an old laptop and attach it to an external screen, or if you’re like me and want to tinker, you can get e.g. Raspberry Pi 3 Model B and couple it with a small external screen for portability. A nice and low-cost solution which gets you some hacker value. I got the Rpi Model B from our local hardware store but unfortunately, I missed out on the Model B+ which was released on the same day. The extra 15% power, 5 GHz Wifi and less heat and throttling would’ve been nice.
I got the Raspberry Pi starting package with the official case, power supply, HDMI cable and a MicroSD card with preloaded NOOBS. So I just needed to connect the cables, put SD Card in and click to install Raspbian. Other interesting operating systems would have been Fedberry which is Fedora ’Minimal, XFCE and LXQt’ Remixes.
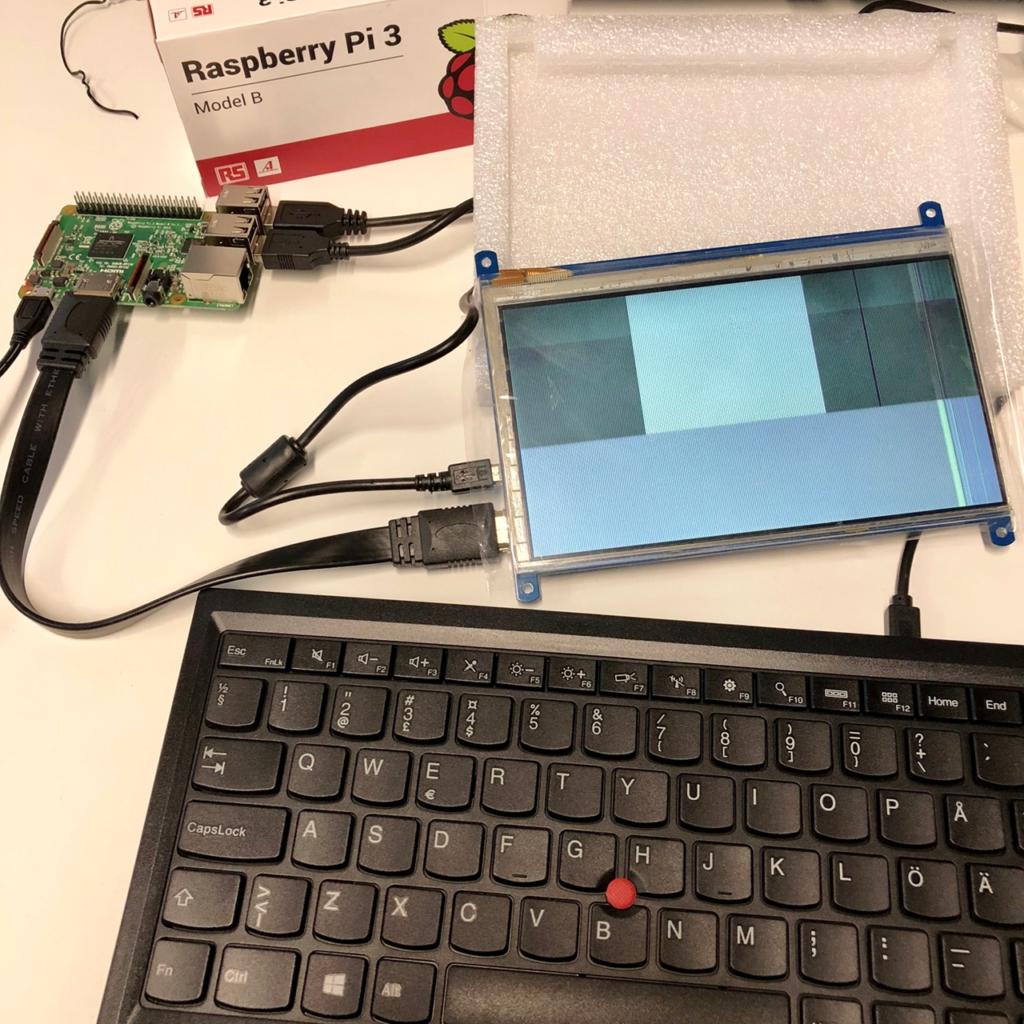
For the screen, I used a 7″ IPS 5 point touch screen for Raspberry Pi with 1024×600 resolution and HDMI from joy-it codename RB-LCD-7-2. Initially, I thought I could install the whole system with this display but as it turned out Rpi doesn’t understand it out of the box. It just showed some white noise and interference. Luckily someone had already solved this and I got the right config after I had installed Raspbian with a real monitor.
Edit your /boot/config.txt:
Add line:
hdmi_cvt=1024 600 60 3 0 0 0
Uncomment these lines:
# uncomment to force a specific HDMI mode (this will force VGA)
hdmi_group=2
hdmi_mode=87
And reboot your Raspberry Pi after those changes.
You should also run $ sudo raspi-config to setup, for example, WiFi country to allow channels 12 and 13 and your current Timezone.
I also updated Raspbian which bumps it to rpi-4.14.y linux tree:
$ sudo apt-get update
$ sudo apt-get upgrade
$ sudo apt-get dist-upgrade
$ sudo rpi-update
To connect to Rpi with SSH enable it with raspi-config > Interfacing Options or just:
$ sudo systemctl enable ssh
$ sudo systemctl start ssh
For the note, by default, the user pi has password raspberry. You should change it but if you want to remove the nagging of default password run:
$ sudo apt-get -y purge pprompt
$ sudo rm /etc/profile.d/sshpwd.sh
$ sudo rm /etc/xdg/lxsession/LXDE-pi/sshpwd.sh
Accessing Raspberry Pi remotely
The information radiator is usually connected to a TV with no keyboard or mouse attached so accessing it remotely is useful. You can use x11vnc which allows you to VNC into a headless Pi with a VNC client like Apple Remote Desktop, RealVNC’s vncviewer or homebrew’s tiger-vnc.
$ sudo apt-get install ttf-mscorefonts-installer
$ sudo apt-get install x11vnc
To start x11vnc automatically create new or edit existing ~/.xsessionrc file:
$ cat ~/.xsessionrc
/usr/bin/x11vnc -noxrecord -noxdamage -forever -bg -rfbport 5900
Getting interesting things on the screen
To test our setup and quickly show some data I just added a Build Monitor view in Jenkins and another view with Dashboard view. I also configured the Rpi to automatically start the Chromium browser in kiosk mode after reboots and directed it to the Jenkins website so there would be no need for interactions to get things on the screen. To show several sources of data and get things running quickly without customized information radiator we used Revolver – Tabs Chromium extension to rotate between multiple browser tabs: one showed Jenkins Build Monitor other Grafana Dashboard and third Twitter feed.
To automatically start the chromium-browser after Raspbian desktop starts, edit the following lxsession file:
$ cp /etc/xdg/lxsession/LXDE-pi/autostart /home/pi/.config/lxsession/LXDE-pi/autostart
$ vim /home/pi/.config/lxsession/LXDE-pi/autostart
#@xscreensaver -no-splash  # comment this line out to disable screensaver
# Disable Xsession from blanking
@xset s off
@xset -dpms
@xset s noblank
@sh ./autostart.sh
# load chromium after boot and point to the localhost webserver in full screen mode
@chromium-browser --kiosk --no-default-browser-check --no-first-run --disable-infobars http://jenkins.url/ http://jenkins.url/ http://grafana.url/ http://twitter.url
Chromium has a feature to show ”Restore pages” nagging popup when not gracefully shutdown and you can try the following Stack Overflow suggestion. What was also suggested was doing ”chmod 001 ~/.config/chromium/Default/Preferences” but it resulted in another nagging window.
$ cat ./autostart.sh
#!/bin/sh
sed -i 's/"exited_cleanly":false/"exited_cleanly":true/' ~/.config/chromium/'Local State'
sed -i 's/"exited_cleanly":false/"exited_cleanly":true/; s/"exit_type":"[^"]+"/"exit_type":"Normal"/' ~/.config/chromium/Default/Preferences
You could use ”–restore-last-session” or ”–incognito” parameter which also works but it has several disadvantages, such as disabling the cache and login information. Or maybe I should just use Firefox.
Turning the monitor on and off automatically
When running Rpi as a wall monitor it’s useful to save energy and extend the life of your monitor by turning the monitor on/off on a daily schedule. You can do this by running a cron script. Get this script and put it in ”/home/pi/rpi-hdmi.sh” and make it executable: chmod +x /home/pi/rpi-hdmi.sh. Call the script at the desired time with the cron entry:
$ crontab -e
# Turn HDMI Off (22:00)
0 17 * * * /home/pi/rpi-hdmi.sh off
# Turn HDMI On (7:00)
30 7 * * * /home/pi/rpi-hdmi.sh on
If you have problems with the above script try this one which is the original, but change ”curr_vt=`fgconsole`” to be ”curr_vt=`sudo fgconsole`” as fgconsole needs sudo privileges otherwise you get an error ”Couldn’t get a file descriptor referring to the console”.

From simple dashboard to real information Radiator
Showing just the Jenkins Build Monitor or Grafana dashboards is simple but to get more information you could show things like the success rate of the builds, build health, latest open pull request and project Twitter Messages. One nice example of an information radiator is Panic’s Status board.
There are different ways to create a customizable dashboard and one way is to use Dashing which is a dashboard framework. To get a headstart you can see Project Dashboard which shows ”build health” for the latest build, the latest open pull request in Github, the success rate of your builds, some free-form text and your project’s or company’s logo. It uses the Jenkins API to get the ratio of successful / non-successful builds as well as the latest build state. It also calls the Github API to get the latest pull request to display the name and picture of the author and the title of the pull request on the dashboard.
This article was originally published on Rule of Tech, the author’s personal blog about technology and software development.