Many of us use Windows in our daily (development) work, either by choice or forced by external factors, such as the client IT-environment or application restrictions. For years, I’ve used git bash to get around the Windows command line’s shortcomings. However, I soon discovered the awesome Cmder that was almost a Unix-like terminal replacement. But then again, why resort to a replacement, when you can have the best of both worlds? In this tutorial, you’ll learn how to install a Linux subsystem on your Windows machine (if you have never heard of that, I know, it sounds weird and potentially frightening) and after that, we’ll continue by installing Hyper.js AND zsh to have a terminal just like on any UNIX-system. Probably the best invention since the cheese slicer.
Warming up
Before installing any Linux distros for WSL, ensure that the Windows Subsystem for Linux (WSL for short) optional feature is enabled. Enabling this is straightforward, just open PowerShell as Administrator (a handy shortcut: right-click on Start menu) and run:
Enable-WindowsOptionalFeature -Online -FeatureName Microsoft-Windows-Subsystem-Linux
Restart your computer when prompted.
After you’re back on desktop, the easiest way to download your preferred Linux distribution is from the Windows Store. Search for e.g. ‘linux’ and choose your favourite. If you don’t have any preference, Ubuntu is a safe bet. The download might take a few moments, so grab a coffee here. If you have enough bandwidth for another download, this might be a good point to download Hyper from https://hyper.is.
Enter Linux
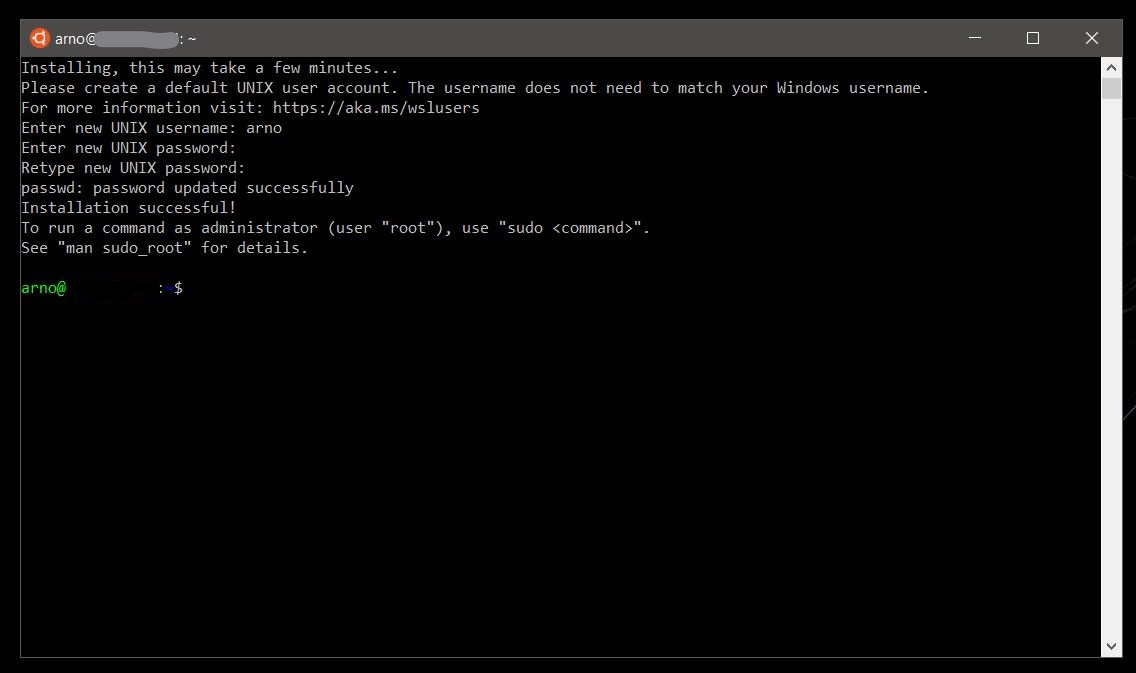
After the installation is complete, search for your newly installed Linux distro in the start menu to finish the process. On first boot, some initial installation steps are completed, so be ready to wait for a while once again.
With enough patience, you’ll be prompted to create your UNIX-account.
Tada, Linux.
Installing a better terminal
If you didn’t do so already, download Hyper.js from https://hyper.is/. Hyper is an extendable terminal replacement based on Electron, and runs on any platform, so you might want to try it out on other operating systems as well. Not to forget that it’s beautiful and fully themeable. Unless you’re scared of everything that runs on Electron, of course.
Booting up Hyper.js for the first time brings you to the default Windows command prompt.
Hit
Ctrl + ,
to open the preferences in a text editor, and scroll down to ‘shell’.
We want Hyper to log in to bash instead, so change this line to
shell: `C:\Windows\System32\bash.exe`
While you’re at it, you might want to change some other settings to match your preferences as well, e.g. specify your favourite colours or add a predefined theme or other plugin
plugins: ['hyper-material-theme']
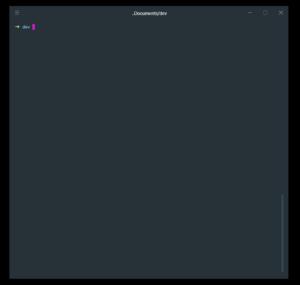
All set and done! To see that bash works, open a new tab from the menu or by pressing
Ctrl + Shift + T
Now you’re halfway through. Leave the terminal open, we need it later.
Installing zsh and Oh-My-Zsh
For those not familiar with the Linux lingo, zsh is a customizable alternative shell for UNIX systems. Oh-My-Zsh builds on top of that to help you manage the preferred configuration, consisting of community-developed plugins and themes to make one’s life easier (it really does). So if you left the tab open in the previous step, call
sudo apt-get update
and
sudo apt-get install zsh
to install zsh just like any other Unix system.
Now we need to make zsh our default shell. This needs to be set at login because as far as I know, the default login shell on WSL cannot be changed.
For that, open .bashrc in your favourite text editor
nano ~/.bashrc
And write
bash -c zsh
as the first line in order to tell bash to switch to zsh at login.
Save and close the file.
Finally, we’re ready to install Oh-My-Zsh from
sh -c "$(curl -fsSL https://raw.githubusercontent.com/robbyrussell/oh-my-zsh/master/tools/install.sh)"
And you’re good to go! Just remember to review your settings in .zshrc.
Finally, in a proper terminal
One of the first things you might notice is that npm does not work. Now that we’re living inside Linux,
the easiest option is to install Node (or nvm, if you need that) again on Linux by running
sudo apt-get install nodejs
Additionally, in case you run into issues, you might have to make your path point to
PATH=”$HOME/bin:$HOME/.local/bin:/usr/bin:$PATH”
in ~/.zshrc
Bonus round – usage in VS Code
Open settings in JSON (Ctrl + Shift + P, type settings), and add
"terminal.integrated.shell.windows": "C:\Windows\System32\bash.exe"
That pretty much sums things up. Now you have made your terminal great again – on Windows!
Some useful guides to continue diving deeper
My oh-my-zsh wiki https://github.com/robbyrussell/oh-my-zsh/wiki
Installing Powerline fonts required by some themes – https://medium.com/@slmeng/how-to-install-powerline-fonts-in-windows-b2eedecace58
Making Windows native Docker work on WSL – https://medium.freecodecamp.org/how-to-set-up-docker-and-windows-subsystem-for-linux-a-love-story-35c856968991